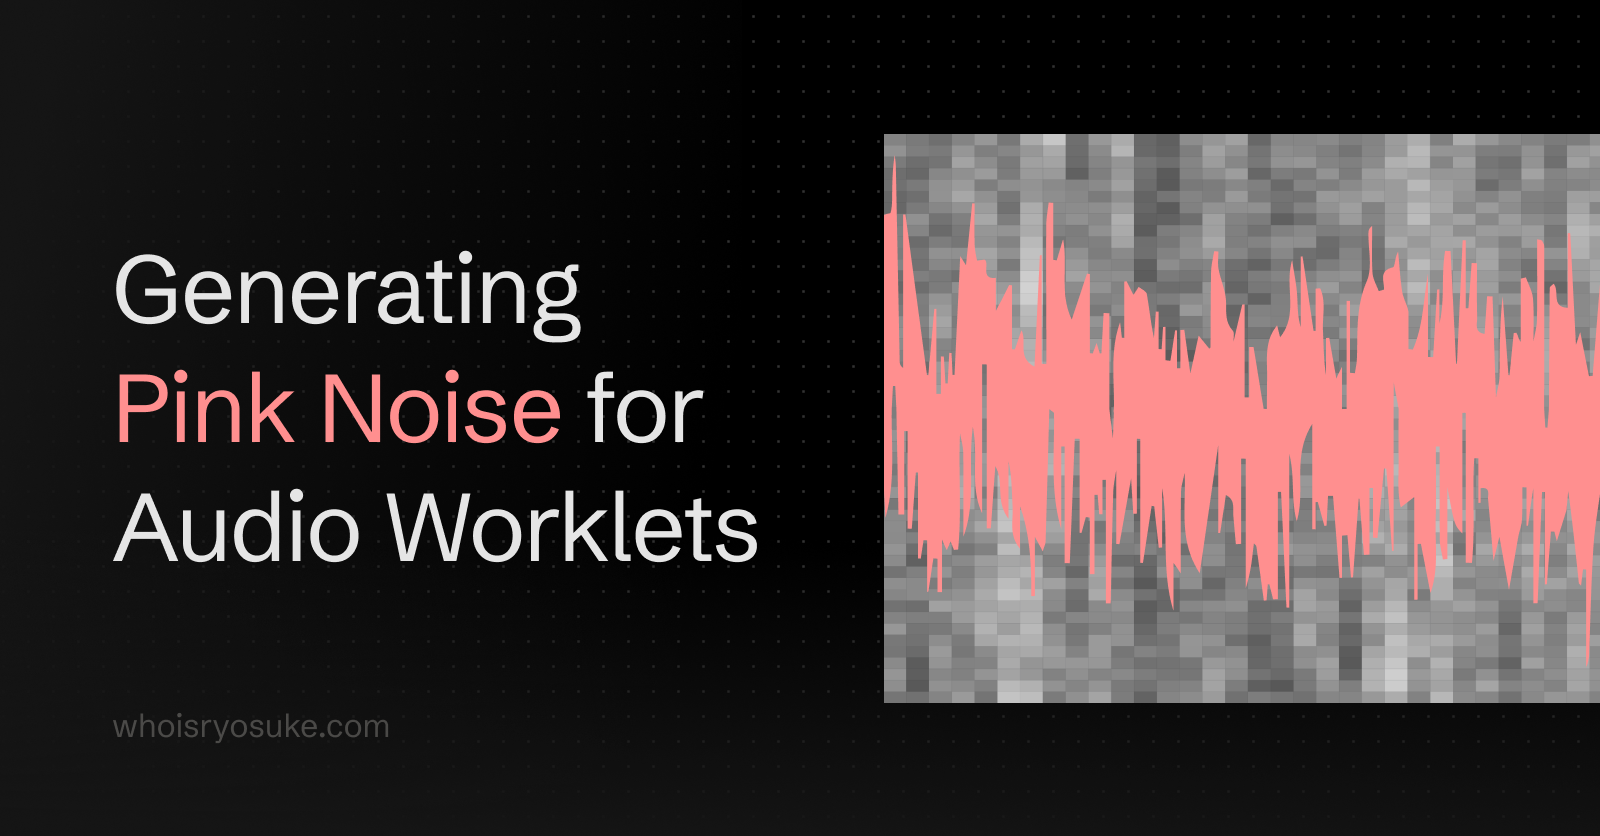
Posted on
August 5, 2025
If you’ve been following me recently you’ll know that I’ve been working on clawdio, a JS library for creating Web Audio effects - like say “Bitcrusher”. And I’ve also been prototyping a web audio node graph to visualize the Web Audio API, and it also uses clawdio under the hood to test the library.
All that said, I’ve been adding different effects to both projects. One concept I recently tackled was procedural noise generation. I wanted to be able to use all the different types of audio noise from white to pink to brown in the node graph app.
I quickly found that generating white noise was easy - but pink and brown were a little more challenging. This blog covers my process for implementing the pink noise algorithm in Rust, and how I got it working in JavaScript as WASM module running inside a web audio worklet (it’s as convoluted as it sounds).
📂 Interested in the source code? You can find the pink noise module in the clawdio project.
Procedural Noise Generation
In audio we have a few concepts of noise. Most commonly there’s white, pink, and red/brown noise. Ultimately each type is made by generating random numbers, some using more “simple” methods than others.
They sound like, well, noise. Something that fills a lot of frequencies and at random rates, like the sound of fast turbulent water or TV static. You can hear a sample of white noise here.
What is audio?
When we talk about “generating noise”, we’ll be generating audio that we want to hear from our computer’s speakers. But how do we “generate” audio? What exactly is audio, and how is it represented as data?
When we think of audio, we often think of music or sound, usually stored inside common file formats like .mp3 or .wav. But how is audio stored in these digital files?
The audio gets stored using software, usually in combination with hardware like a microphone or instruments. The audio is represented as a “signal”, you can imagine it like the “waveform” you often see associated with music files (the same one that changes based off the actual music).
This “signal” is represented as numbers, usually ranging from -1 to 1. The lower the number, the deeper the sound (like a lower octave on a piano). The higher the number, the higher the sound. The numbers are stored in an array, and as the song plays, we’re just reading these numbers and letting the speaker play them.
But you might be asking, how do we store that much audio data as numbers? The answer? It’s a lot of numbers. You’ll often see a term associated with audio called “sample rate”. This refers to the numbers of “samples” (aka numbers ranging from -1 to 1) that we take per second. So the higher the sample rate, the more audio data we have, the more accurate the audio will be to the original sound.
So to generate noise, we’ll be filling our audio buffer with random “samples” (aka semi-random numbers). We could take this data and save it to a .mp3 and you could play it an audio player to hear the noise.
White Noise
White noise is the simplest noise. It sounds like “static” you might hear from an old TV. It’s the most random, and often least “interpolated”, so frequencies will travel sporadically from one end of the spectrum to the next.
You generate a random number from 0 to 1 (or in audio’s case, -1 to 1) - as many times as you need. In the case of audio, we generate a random number for each “sample” we need (based on the sample rate of our audio - e.g. 44,100 samples for 44.1kHz).
const samples = new Array(420).fill(0).map(() => Math.random());
// [0.234, 0.594, 0.420, 0.710, etc]
If you’re familiar with graphics, particularly procedural, you’ll probably have encountered this in one of your apps. In Blender you can this available as a “Noise Texture”. Or in Photoshop you could use Filter > Noise.

If we map our simplified algorithm out, it doesn’t look as nice as Blender, but you get an idea of how the randomness works. Each tile represents an audio sample, the closer to black the more sound you hear.
If we visualize this algorithm in 2D, it’d look like this:

📁 You can find the source code for this visualization here. I used p5.js to render to a HTML
<canvas>.
With the Web Audio API we can create a new buffer, then fill that buffer with our random numbers (aka “white noise”). Then we can loop it, so we don’t have to generate a new sample each time.
export function createWhiteNoiseBufferNode(
  audioCtx: AudioContext | OfflineAudioContext,
) {
  // Generate 2 second buffer
  const bufferSize = 2 * audioCtx.sampleRate;
  const buffer = audioCtx.createBuffer(1, bufferSize, audioCtx.sampleRate);
  const data = buffer.getChannelData(0);

  for (let i = 0; i < bufferSize; i++) {
    // Generate random numbers between -1 and 1
    data[i] = Math.random() * 2 - 1;
  }

  const whiteNoise = audioCtx.createBufferSource();
  whiteNoise.buffer = buffer;
  whiteNoise.loop = true;

  return whiteNoise;
}

// Play audio
const ctx = new AudioContext();
const node = createWhiteNoiseBufferNode(ctx);
node.start();
This works great to create some quick white noise and get it playing infinitely. Depending on how you process the signal afterwards, you can mask the repetition a bit.
📁 If we wanted to constantly generate new noise, instead of using a pre-generated data set, we’d have to leverage web audio worklets (similar to what we’ll end up doing with pink noise soon). But this is also more performance heavy, possibly reducing audio latency at scale, so it’s a tradeoff.
You can also find other types of white noise, some that look softer (like Blender). These all use specific algorithms to generate more even distributions of values so the final product is smoother. This method serves as a foundation for all the others.
Pink noise
Pink noise sounds like waves on a beach, a waterfall, or a gentle “whoosh” sound. It’s a common sound signature that’s found in nature.
We still generate a random number from -1 to 1, but it distributes the them so they “sound” more equal. Low end frequencies tend to get highlighted more, creating deeper mellow sounds.
This is kind of similar to gaussian noise, which is a kind of noise that’s interpolated so transitions are smoother. You might have encountered it in graphics apps like Blender or Photoshop named “Clouds”.
But it differs from gaussian, where the gaussian algorithm distributes it’s values on a Gaussian curve (bell-shaped, creating the soft “gradient” we see visually). Instead, pink noise decreases power by 3dB every octave, more on a logarithmic scale.
I referenced this Noisehack blog post, which references an algorithm by Paul Kellet published in 2000. You can find the original algorithm on MusicDSP, which also lists an “economical” version.
b0 = 0.99886 * b0 + white * 0.0555179;
b1 = 0.99332 * b1 + white * 0.0750759;
b2 = 0.969 * b2 + white * 0.153852;
b3 = 0.8665 * b3 + white * 0.3104856;
b4 = 0.55 * b4 + white * 0.5329522;
b5 = -0.7616 * b5 - white * 0.016898;
pink = b0 + b1 + b2 + b3 + b4 + b5 + b6 + white * 0.5362;
b6 = white * 0.115926;
And the economy version with an accuracy of +/- 0.5dB:
b0 = 0.99765 * b0 + white * 0.099046;
b1 = 0.963 * b1 + white * 0.2965164;
b2 = 0.57 * b2 + white * 1.0526913;
pink = b0 + b1 + b2 + white * 0.1848;
You can see that this formula uses a white variable — that represents white noise - aka just a random number. All the other variables start at 0 and add up as we go. You can see how white noise is instrumental in creating other noises.
If we visualize this algorithm, it’d look like this:

📁 You can find the source code for this visualization here.
You can see immediately how “softer” this looks (and similarly, how it’d sound).
But notice the big difference between this equation and white noise — persistence. Pink noise requires you to store 6 numbers your app’s cache to operate on as it processes. Our simplified white noise in comparison evaluates without any previous input.
What’s happening here? Each time we loop to generate a new sample (aka 1 random number in our array), we have 6 variables that increment that white noise over time - while reducing it’s effect. You can see that each variable adds itself - but always multiplies by a number less than 1 (meaning the variable’s value always diminishes). Each layer also adds a different percentage of white noise that also gets diminished over time. All these numbers get added up to our pink noise - and scaled a bit (by about 0.5 - likely to prevent clipping). The economical version is similar in execution, just with less additive layers.
In the past, we’d use the createScriptProcessor API to generate this procedural audio signal on the CPU side. But this API was deprecated in favor of Audio Worklets, which still process audio on the CPU - but leverage a separate CPU thread to reduce load on main thread (where most JS and some UI gets processed).
Now let’s make that audio worklet that’ll generate pink noise for us.
Pink Noise Worklet
We need to make an AudioWorkletNode that uses a AudioWorkletProcessor to process our audio on a separate thread. Then inside that we’ll use Rust code (via WASM) to generate the pink noise data.
We could just generate the pink noise inside the AudioWorkletProcessor using JavaScript (with no Rust/WASM), but where’s the fun in that? And ideally, the WASM will improve performance over time (particularly if you need to have an effect running longer, or want more complex noise algorithms).
📁 If you’re interested in this process, I recommend checking out my blog on creating audio worklets using WASM. It’s a great introduction to all these concepts.
Rust Module
The first step is making a Rust module that’ll contain a struct called PinkNoiseModule that’ll contain any state we need to persist — as well a function that’ll handle generating the pink noise.
Like I mentioned earlier, we’ll need to have 6 variables to store audio data as we process. Let’s add a few properties to our struct that’ll contain these, as well as a property for our buffer size (essentially the number of samples we need to generate).
#[wasm_bindgen]
pub struct PinkNoiseModule {
    rng: SimpleRng,
    buffer_size: i32,

    // Input and output
    b0: f32,
    b1: f32,
    b2: f32,
    b3: f32,
    b4: f32,
    b5: f32,
    b6: f32,
}
Let’s add a new() function to handle creating this struct (or JS Object when we use it on that side). We’ll let the user pass in a buffer size, then initialize all the other variables as 0.0 floats.
#[wasm_bindgen]
impl PinkNoiseModule {
    pub fn new(buffer_size: i32) -> PinkNoiseModule {
        PinkNoiseModule {
            rng: SimpleRng::new(0),
            buffer_size,
            b0: 0.0,
            b1: 0.0,
            b2: 0.0,
            b3: 0.0,
            b4: 0.0,
            b5: 0.0,
            b6: 0.0,
        }
    }
  }
Now we can process some audio. But in this case, we’re not really “processing” — we don’t need the frontend to send this worklet any samples. Our goal is to generate sound (aka pink noise) and return that from the worklet.
To do that, we just need to make an array of numbers, and return that to the user. We’ll let the generate_pink_noise() function handle generating the pink noise and returning it.
pub fn process(&mut self) -> js_sys::Float32Array {
    let output = self.generate_pink_noise();
    js_sys::Float32Array::from(&output[..])
}
Now we can implement the pink noise algorithm in generate_pink_noise(). This shouldn’t look too dramatically different from the pseudocode example before. We create an array (aka Vec) and loop until we have enough samples to fill our buffer (based on the “buffer size” the user sets). Then we access the 6 variables attached to our struct by using the self argument and use them for lots of math.
pub fn generate_pink_noise(&mut self) -> Vec<f32> {
    let mut samples: Vec<f32> = Vec::new();
    for _ in 0..self.buffer_size {
        let white_noise: f32 = self.rng.random();
        self.b0 = 0.99886 * self.b0 + white_noise * 0.0555179;
        self.b1 = 0.99332 * self.b1 + white_noise * 0.0750759;
        self.b2 = 0.96900 * self.b2 + white_noise * 0.1538520;
        self.b3 = 0.86650 * self.b3 + white_noise * 0.3104856;
        self.b4 = 0.55000 * self.b4 + white_noise * 0.5329522;
        self.b5 = -0.7616 * self.b5 - white_noise * 0.0168980;
        let mut pink_noise = self.b0
            + self.b1
            + self.b2
            + self.b3
            + self.b4
            + self.b5
            + self.b6
            + white_noise * 0.5362;
        pink_noise *= 0.11;
        samples.push(pink_noise);
        self.b6 = white_noise * 0.115926;
    }

    samples
}
📁 I separate the pink noise generation here because it makes testing easier. You can see in tests that we’re able to use that specific function directly and get a
Vecof samples. This is easier to work with than the WASM types (likejs_sys::Float32Array).
This works, but we’re missing one ingredient here: white noise. You can see that I use a self.rng here to generate a random number. But what is that? Let’s dive a little deeper…
Generating white noise in Rust
How do we generate white noise in Rust? I mentioned earlier it’s just a random number between -1 and 1.
In JavaScript it’s as simple as using the random function on the Math class (Math.random()), which generates a random number between 0 and 1. Then we can scale that to -1 to 1 by multiplying it by 2 and subtracting 1 (or you could use a map() function - bit overkill).
📁 Under the hood, JavaScript uses a “pseudo” random number generator, usually powered by a xorshift128+ algorithm. This basically generates random numbers by starting with 2 variables and bitwise shifting them. It’s low-level memory stuff - since each number is made up of “bits” that represent it, you can shift bits to make new numbers.
In Rust however, there is no built in function to create random numbers. Yes you heard me correctly. You need to rely on 3rd party “crates” you can add to your project to get this functionality (or write it from scratch).
3rd Party Randomization Library
The first crate you often reach to for random numbers in Rust is rand. It’s pretty simple to use, you just import, initialize, and generate a number from a range (in our case -1 to 1).
use rand::Rng;

// Initialize the randomizer
let mut rng = rand::thread_rng();

// Generate a number between -1 and 1
let white_noise: f32 = rng.gen_range(-1.0..=1.0);
But if we use this inside of our WASM library, it breaks the build. This is because the rand crate doesn’t automatically support WASM as an output, and requires additional configuration. It seems that WASM support is handled by the getrandom crate, which is a lower-level library for random number generation (lower level meaning it’s harder to use).
They link to a specific section of the getrandom docs that talk about WASM support. To enable it, we need to add getrandom to the Rust project’s Cargo.toml and add a specific feature flag (wasm_js).
After adding this to my project though, I noticed that during the build process there were 2 versions of getrandom getting installed — v0.2 and v0.3. And the build failed after this step.
Doing a bit of investigating on GitHub, I found in the rand Cargo lockfile that they use v0.2 of getrandom (which makes sense why it pulled that version, when I explicitly had v0.3 listed in my dependencies). I swapped to that version, and I got an error that the wasm_js feature didn’t exist. Checking the old v0.2 docs of getrandom, I found that the flag was just js before.
That resolved all build issues and the WASM was generated successfully.
But it still didn’t work… When I loaded the WASM in a JS app, I got an error when I tried to use the process() function: Unreachable code.
RuntimeError: unreachable executed pink-noise-Oz4tFidi.js line 235 > WebAssembly.compile:23297:1This is a common catch-all WASM error that lets you know something is wrong with WASM bundle itself.
📁 Normally with WASM you can use the
console_error_panic_hookcrate to help the debugging process. It logs out to the JS console anytime the Rust code panics - so instead of seeing errors like “unreachable code”, you’ll get a more succinct error code from Rust. But because we run our WASM inside an audio worklet, we don’t haveTextEncoder, which doesn’t let us useconsole.log()in WASM code.
I’m able to see functions attached to the module, though I’m not able to use any them, like process(). When I run them, the code just doesn’t run and gets skipped (if I wrap it in a console.log I won’t even see the log). And when I log the function out, I see the underlying WASM glue code instead of a real function (like it should show when it works)
wasm initialized - test process process_vec() {
      try {
        const c = s.__wbindgen_add_to_stack_pointer(-16);
        s.pinknoisemodule_process_vec(c, this.__wbg_ptr);
        var e = h().getInt32(c + 4 * 0, !0), t = h().getInt32(c + 4 * 1, !0), r = z(e, t).slice();
        return s.__wbindgen_free(e, t * 4, 4), r;
      } finally {
        s.__wbindgen_add_to_stack_pointer(16);
      }
    }
This led to a long chain of sanity checks, like seeing if the WASM bundle was the correct size, if it was being fetched correctly, etc. Luckily I had other WASM modules I had created, so I could test the Bitcrusher module and see it worked fine — so it let me know something was wrong specifically with the Pink Noise module.
Part of the debugging process involved refactoring the Rust PinkNoiseModule a few times. One of the times I removed the rand crate and noticed it worked fine. This confirmed my suspicions that despite building correctly — there was still an issue here.
No Crypto in Audio Worklets
That’s when it clicked. I remembered when I was browsing the docs for getrandom, they mentioned that the WASM support on the web is done using the Web Crypto API (aka crypto). Instead of leveraging Math.random(), they use the more modern library with better randomization algorithms (make sense).
But it’s a big problem for us — we’re running the WASM inside a Web Audio Worklet — which limits the number of native JavaScript APIs available. You’ll quickly find that you can’t print() inside an AudioWorkletProcessor and you’ll get an error TextEncoder is undefined. This is one of many APIs that are unavailable to worklets. We’re not seeing the error, but we can safely assume that our WASM code isn’t running because it’s trying to access the crypto API which is undefined.
I confirmed this by testing the WASM module outside of an audio worklet, in a fresh Vite app. I was able to initialize the WASM fine and generate random numbers. I’m assuming the rand crate (and subsequently getrandom) finally have access to the crypto API and it just works.
Randomization from Scratch
So if we can’t use rand in our WASM module, how do we generate a random number from scratch?
I mentioned earlier when I discussed JavaScript’s randomization that “under the hood” they use a xorshift algorithm. When I say “under the hood” I mean the low-level code (like C and C++) that runs the JavaScript code. This low level code will ironically be not to dissimilar to our Rust code.
When I researched methods for randomization in Rust, I discovered a great article that covers various different algorithms and how to implement them in Rust. It even includes xorshift, the method that JavaScript uses.
I settled on using a Linear Congruential Generator algorithm. This algorithm looks like this:
result = (multipler * result + increment) % modulus;Each time you run this function, it takes the previous result and generates a new number using it. As you can imagine, this has a few limitations, like repeating over time (aka “periodic”). But it’s simple and fast enough for us.
So how does this look as code? Let’s make a quick example in JavaScript:
class LinearCongruentialGenerator {
  constructor(seed = 1, a = 1664525, c = 1013904223, m = Math.pow(2, 32)) {
    this.seed = seed;
    this.a = a; // multiplier
    this.c = c; // increment
    this.m = m; // modulus
    this.current = seed;
  }

  // Generate next random number in the sequence
  random() {
    this.current = (this.a * this.current + c) % this.m;
    return this.current;
  }
}

// Example usage:
const rng = new LinearCongruentialGenerator(420);
const randomNumber = rng.random();

console.log("10 random numbers:");
for (let i = 0; i < 10; i++) {
  console.log(rng.random());
}
I converted this to Rust and optimized it a bit:
pub struct SimpleRng {
    state: u64,
}

impl SimpleRng {
    pub fn new(seed: u64) -> Self {
        Self { state: seed }
    }

    pub fn random(&mut self) -> f32 {
        // Simple LCG constants
        self.state = self.state.wrapping_mul(1103515245).wrapping_add(12345);
        // Convert to float between -1 and 1
        let normalized = (self.state as f32) / (u64::MAX as f32);
        normalized * 2.0 - 1.0
    }
}
This is a bit more simplified than the previous example. Instead of storing the seed in the class, we just make it the state (similar to the constructor in the JS class, it just assigns seed to current and never uses it again).
Then we do the modulus operation using the wrapping_mul() function that multiplies the 2 numbers and does a mod ^ 2n. Similarly, wrapping_add() adds the 2 numbers and runs a modulus on result.
And the magic numbers (e.g. 1103515245) represent the multiplier and increment, which could be dynamic, but we keep constant in this case for simplicity.
This way we can generate “pseudo” random numbers whenever we need, and if we want to control the randomization, we can alter the seed.
📁 I might consider changing this to allow user to change multiplier and increment. As I build more modules I’ll be curious if I find this setup limiting or not, we’ll see.
RNG Crate
I think it’s safe to assume that other Rust modules will need to use random number generation in the future, so I separated this function to a shared crate in the Rust monorepo.
use shared::SimpleRng;Then since we need to keep the state of the SimpleRng around in order to keep incrementing and generating new numbers, we store the instance of SimpleRng in the WASM struct.
#[wasm_bindgen]
impl PinkNoiseModule {
    pub fn new(buffer_size: i32) -> PinkNoiseModule {
        PinkNoiseModule {
            rng: SimpleRng::new(0),
        }
    }
}
Now we can generate random numbers using the instance in stored in the struct:
let white_noise: f32 = self.rng.random();And with that we have our own random number generator! And ultimately, pink noise.
Audio Worklet
Now that we have WASM that generates the pink noise audio samples for us (aka big array of random numbers) — we can create an AudioWorkletProcessor that uses it in the process() method.
I won’t go too deep in to this, since I covered it in previous blogs.
import init, { PinkNoiseModule } from "clawdio-pink-noise";
import type {
  AudioWorkletEventMessage,
  AudioWorkletInitWasmEvent,
} from "./types";
import { initWasm } from "./utils";

export interface PinkNoiseEventInitModule extends AudioWorkletEventMessage<PinkNoiseOptions> {
  type: "init-module";
  data: PinkNoiseOptions;
}

export type PinkNoiseOptions = {
  bufferSize: number;
};

class PinkNoiseWorklet extends AudioWorkletProcessor {
  worklet: PinkNoiseModule | null = null;
  bufferSize = 4096;

  constructor() {
    super();

    this.port.onmessage = (event) => this.onmessage(event.data);
  }

  onmessage = (event: AudioWorkletInitWasmEvent | PinkNoiseEventInitModule) => {
    // Handle loading WASM module
    initWasm(event as AudioWorkletInitWasmEvent, init, this.port);

    if (event.type === "init-module") {
      const { bufferSize = 4096 } = event.data;
      this.worklet = PinkNoiseModule.new(bufferSize);
    }
  };

  process(_: Float32Array[][], outputs: Float32Array[][]) {
    // Check if we have worklet initialized
    if (this.worklet == null) return true;

    let processing;
    try {
      // Process samples using Rust WASM module
      processing = this.worklet.process();
    } catch (e) {
      console.log("processing error", e);
    }

    if (!processing) return true;
    // Make sure you loop through each output value and assign it manually
    // can't just assign a whole array
    processing.forEach((val, index) => (outputs[0][0][index] = val));

    return true;
  }
}

registerProcessor("clawdio-pink-noise", PinkNoiseWorklet);
We initialize the WASM, then initialize our struct and store the WASM instance in this.worklet. Then when we need to process audio, we use the this.worklet.process() method exposed from our WASM. This returns an array of numbers that we use to set the values of the first output channel (equivalent to playing sound on a mono speaker).
And with that, we can use our pink noise worklet by spawning and chaining an AudioWorkletNode with our processor.
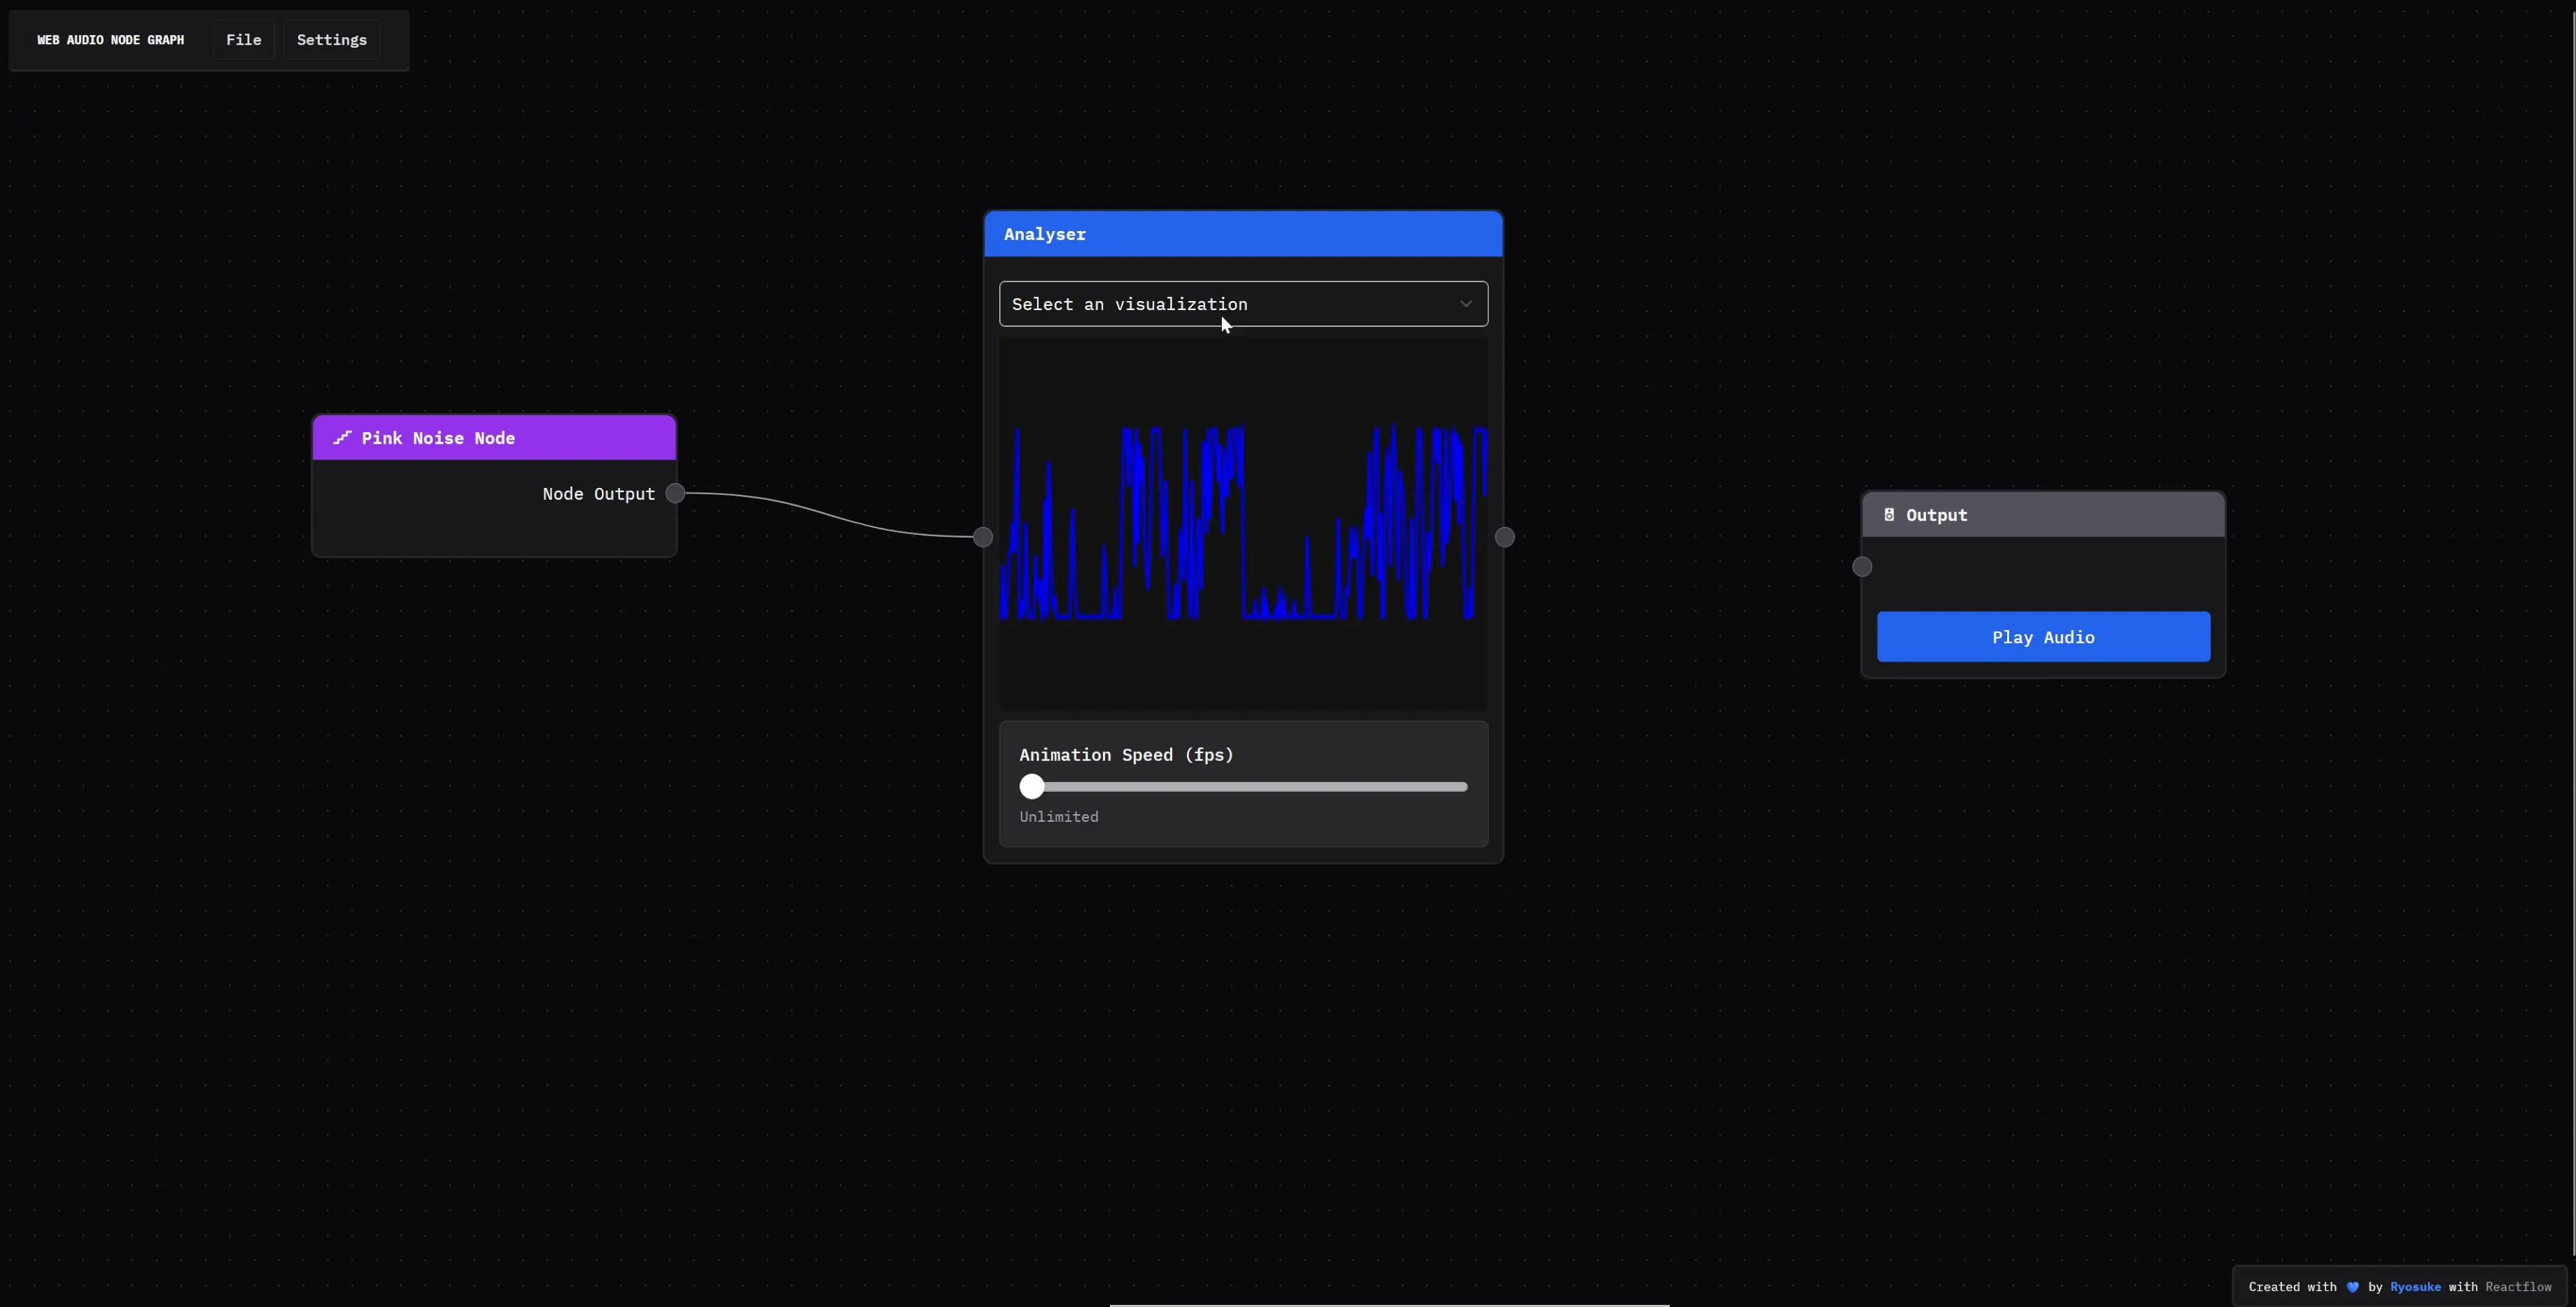
📁 You can see a full example of the worklet here and the node here. Or check out the audio node graph app to see it live and test it.
Pink Ranger would be proud
We learned a bit about procedural noise generation, randomization in general, and how difficult it is to work with WASM and workers. Hopefully you can learn something from this process.
As always, if you enjoyed this article let me know on socials. I’m always curious who’s reading these blogs and what they think. So let me know!
Stay curious, Ryo
comments?
what's up?